Welcome to Protolyst!
To start Capturing Atoms, you’ll need Sources of information in your Workspace.
How do you want to start setting up?
If you’d like to watch, head over to our Beginner’s Tutorials on YouTube, or use the buttons above to scroll down for step by step guides.
Adding Multiple Sources to Set Up your Workspace #
You can use a Table to organise a collection of Sources, it’s somewhat like using a Folder, but gives you further options for organising and categorising your information based on different Properties. The Atoms Property in a Table let’s you see all the important information captured as Atoms from a Source.
Here’s a 3 step flow to get your Sources into Protolyst:
1. Add a Table #
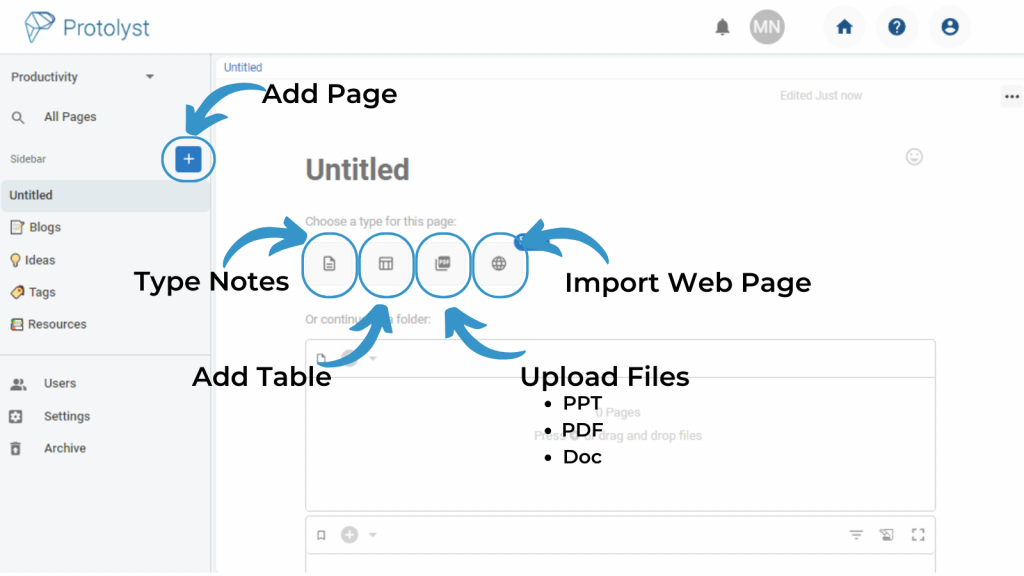
To add a Table, use the Blue Plus Button at the top left of your Workspace. This Button adds a new Page into your Workspace. Select Table from the Options in the Page Setup
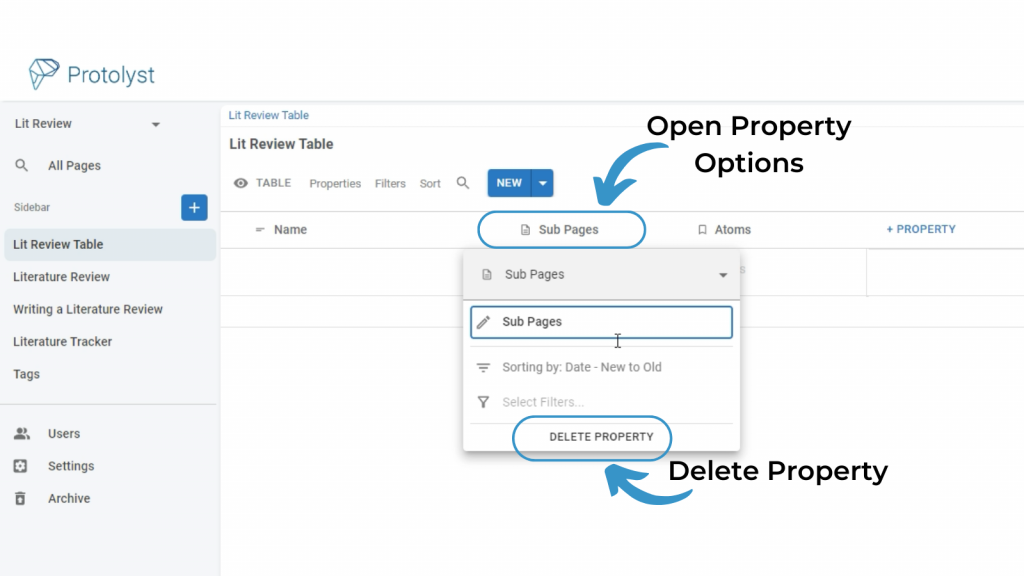
New Tables added into your workspace have 3 Properties (Columns) by default. Name, Sub-Pages and Atoms. (Sub-Pages give you the option to organise your Workspace hierarchically, but let’s ignore them for now!) Keep the Name and Atoms Properties.
2. Batch Upload your Sources #
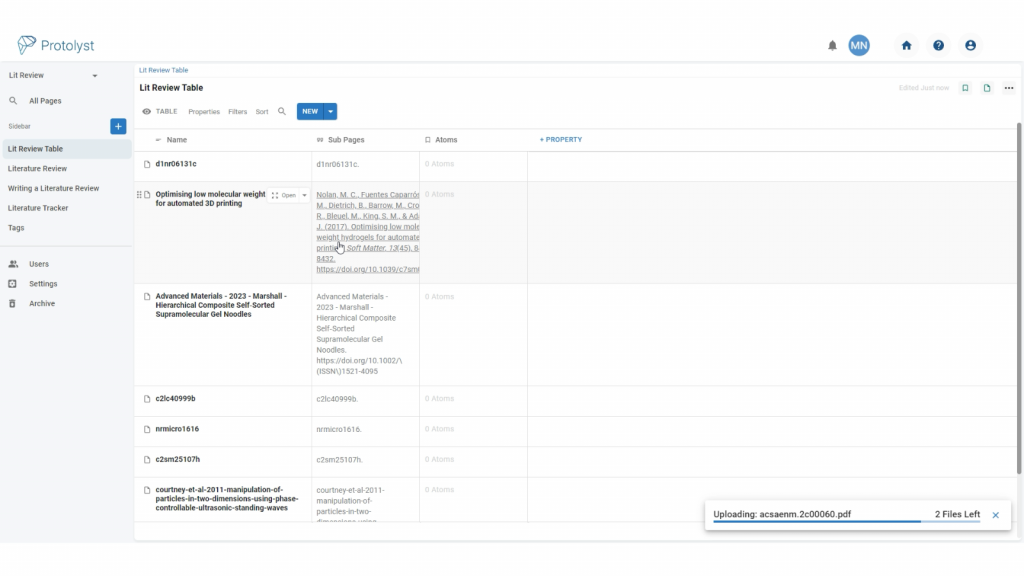
To upload your Sources into this Table, drag and drop Selected Files from your computer onto this Table. They’ll upload with each File as it’s own Row in your Table.
3. Capture Atoms from your Sources #
Each Row of a Table is also a Page in your Workspace, so you can open it up. As each Row of this Table corresponds to one of your Files, you can open up that File and view it. Hover over the Name of a Row and Select ‘Open’
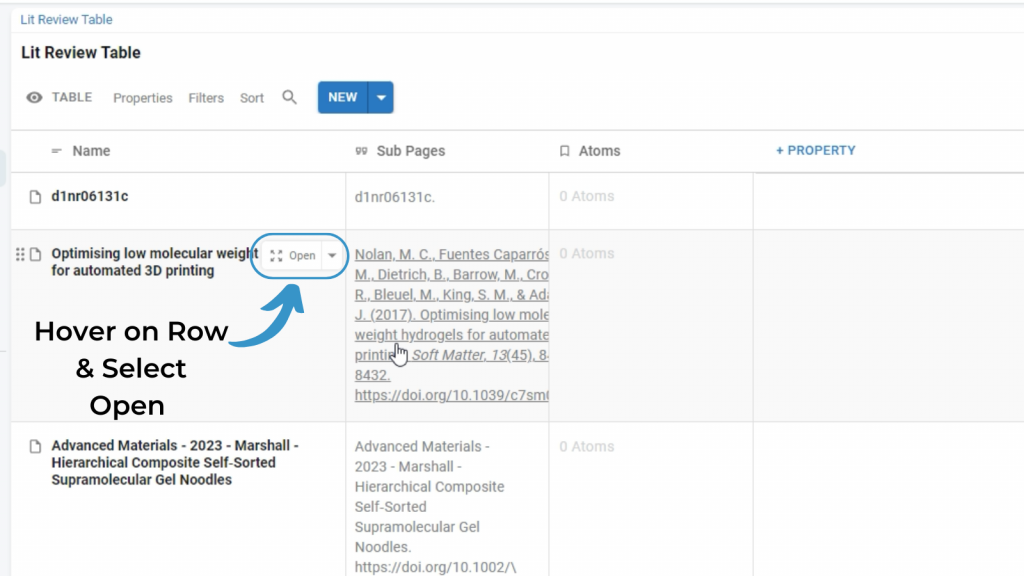
Highlight text and hit ‘Capture Atom‘ to start collecting important information from your Files.

Navigate back to the Table and you’ll see all your Captured Atoms display in the Atoms Column in the corresponding Row.
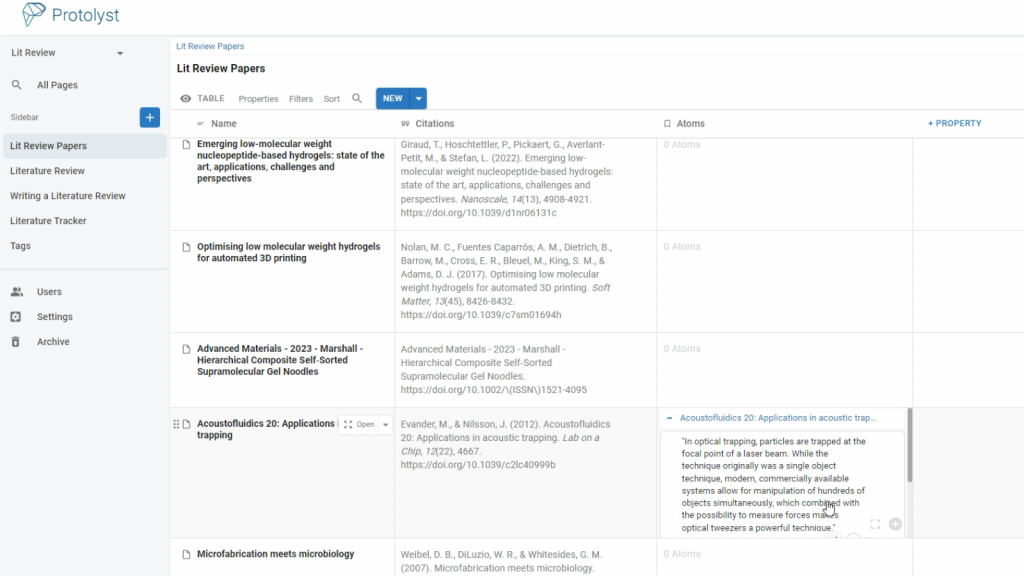
As you continue capturing Atoms you’ll be able to see them all in the Table in the Atoms Property. Now that you’ve got sources into your workspace you can capture Atoms!
Adding Single Sources as you go #
As you come across a Source you want to add into your Workspace, you can add them one by one and capture Atoms following these 3 steps:
1 Add a Page for your Source #
Select the Blue Plus button at the top left of your workspace and choose from the Page types based on your Source:
- Text Editor – Add your own Typed Notes
- Table – Organise Several Pages into a Table (useful if you’ll be adding in a lot of Sources!)
- File Upload – Upload a File such as a PPT, PDF, DOC from your computer
- Web Page – Import Text from Web Pages with a URL
Once your Page Type has been chosen follow the prompt that comes up on screen to finish adding information into your Workspace.
2 Capture Atoms from your Source #
Once added, you can Capture Atoms from your own typed notes and sources by highlighting and clicking Capture Atom.
3 Viewing your Atoms #
You can view and search through all the Atoms you have captured from your Sources in All Pages.
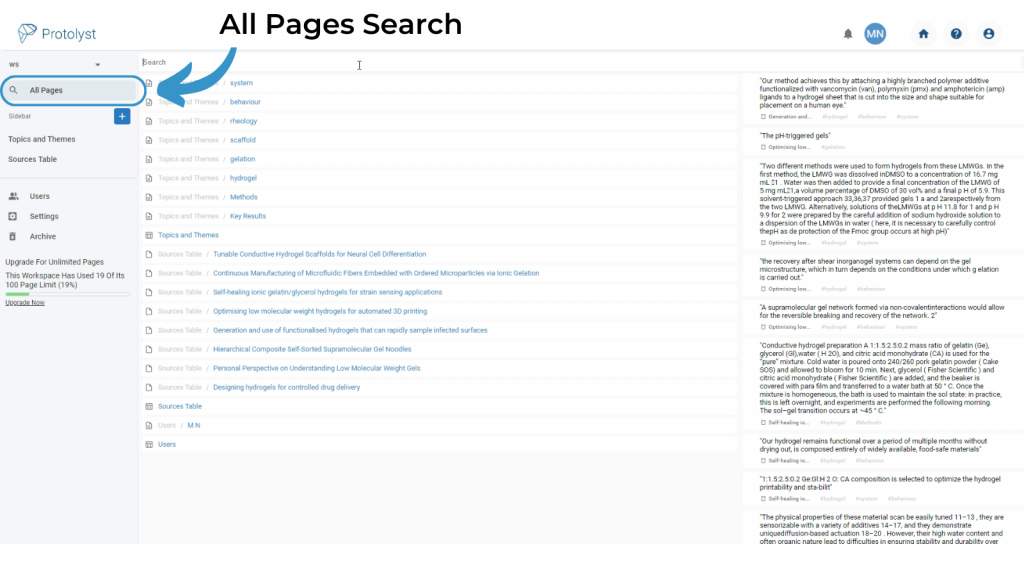
Organise your Pages into a Table, so that you can view all the Atoms using the Atoms Property (see below!)
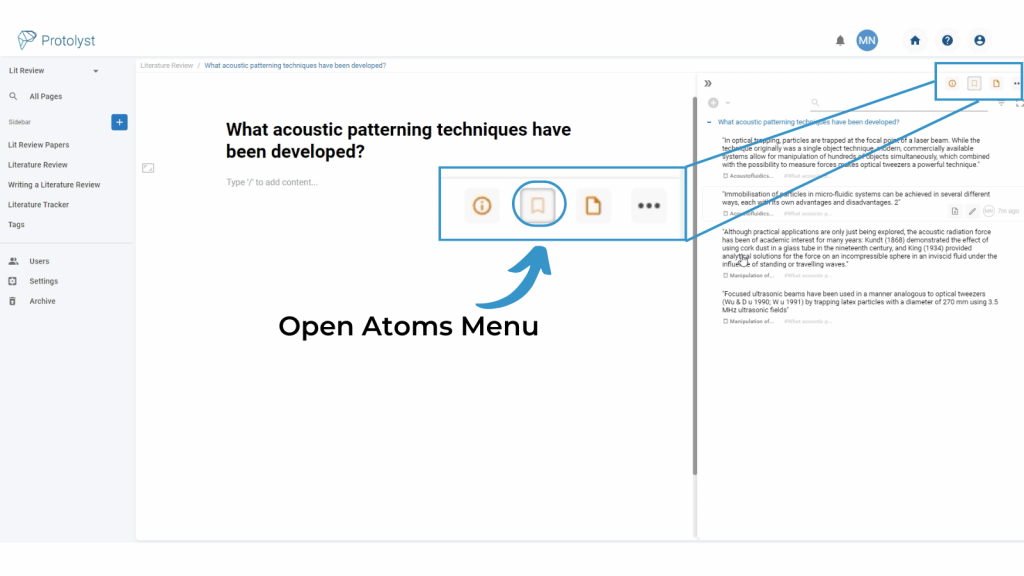
You can also view all the Atoms captured in a Source while that Page is open by opening the Atoms Menu
A Note on Tables #
If you add a Table for your Sources, you can view all the Atoms from a Page using the Atoms Property. You can add New Rows straight into a Table using the New button at the top of the Table.
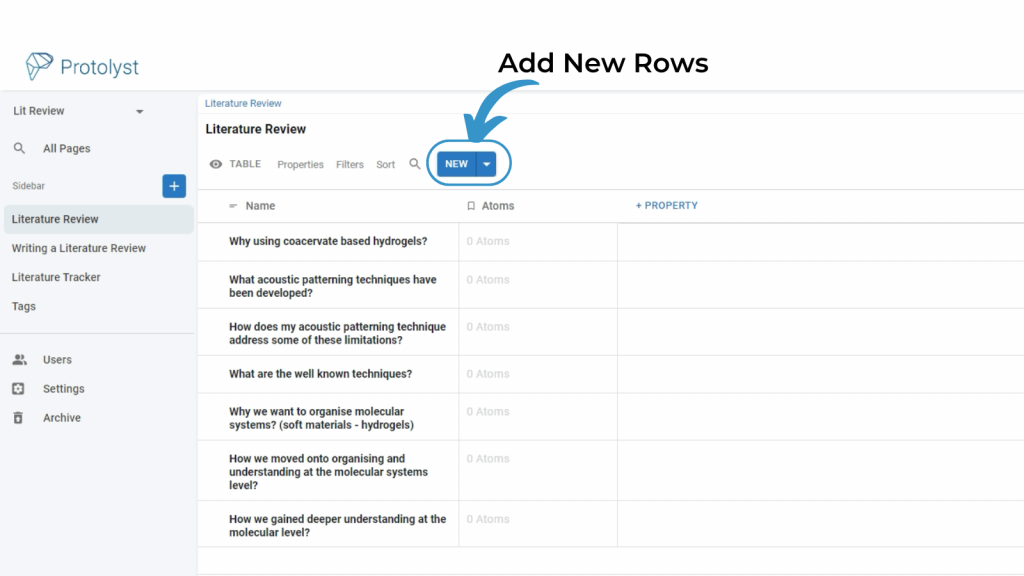
Hover over any Page in your Table to open it up and Capture Atoms from the content inside. If it’s a New Row you’ll then be prompted to choose from the Page Type options as above.

You’re all set to add Sources into your Workspace!


