Let’s get oriented in your new workspace.
Sidebar #
Down the Left of your Screen is a grey area that will display some of your Pages and other information for your Workspace, this is the Sidebar and it has some different sections (1,2 & 3).
The central area of your Workspace will display the contents of a Page (or 2 Pages if you make use of Split Screen)
In the top Right of your Workspace there are some Useful Links (4) and Page Menus (5).
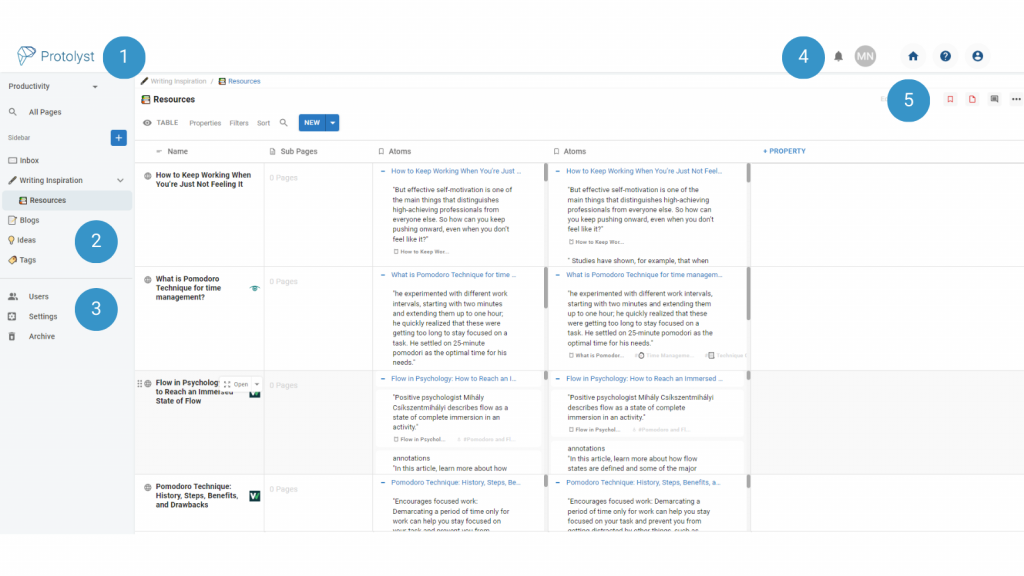
Let’s take a closer look at those 5 areas:
1 Workspace Information #
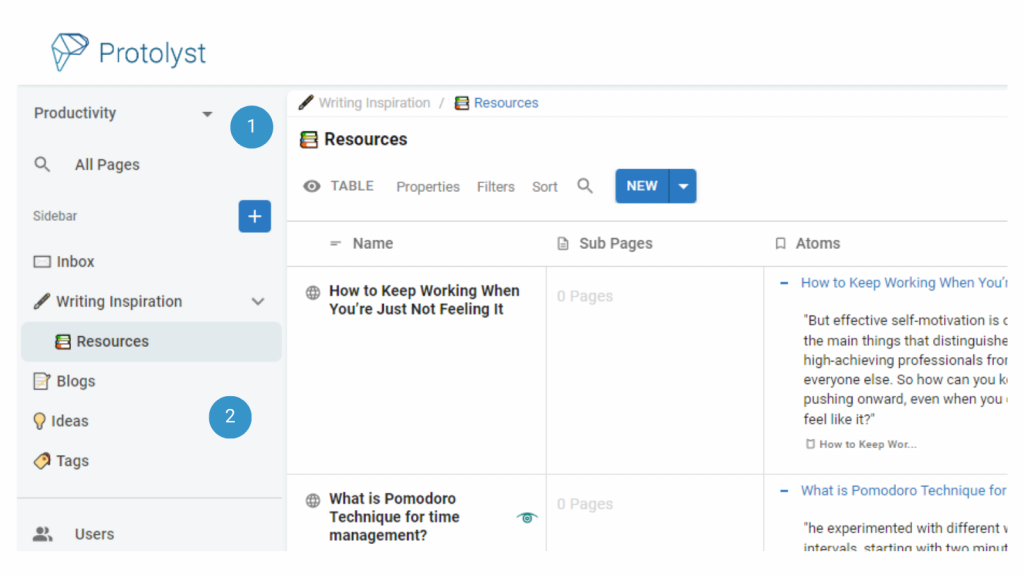
In the top left of your Workspace, there’s some general workspace information. The Name of your Workspace will display, and if you have more than 1 workspace, you can move between them using the Dropdown arrow.
Underneath your Workspace Name is All Pages. Head here to search through your entire workspace.
To the right of the blue 1 in the image, and above the Title of your Current Open Page, there’s breadcrumbs showing the location of your current Page in your workspace (in the image below: Writing Inspiration/Resources). You can click any of the pages in this breadcrumb link to navigate to them.
2 Your Pages #
The middle of your sidebar will display your Pages. New Pages can be added into your Workspace using the blue plus button at the top of this section
All Pages you add through the Blue Plus Button are added into your Sidebar and will display as a list here. Find out more about how to rearrange and organise your Pages here.
3 Workspace Options #
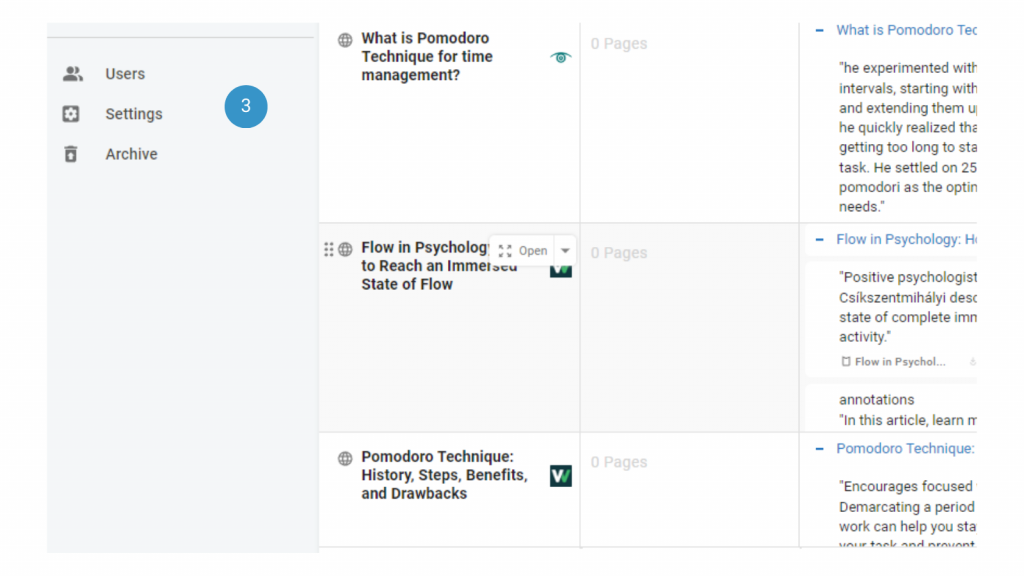
Underneath all your Pages there’s a dedicated section for workspace options including Users, Settings and Archive. From here you can make changes to your workspace
Users #
Users will display a Table with all the users added into your Workspace. Add further Properties here if you would like to
Settings #
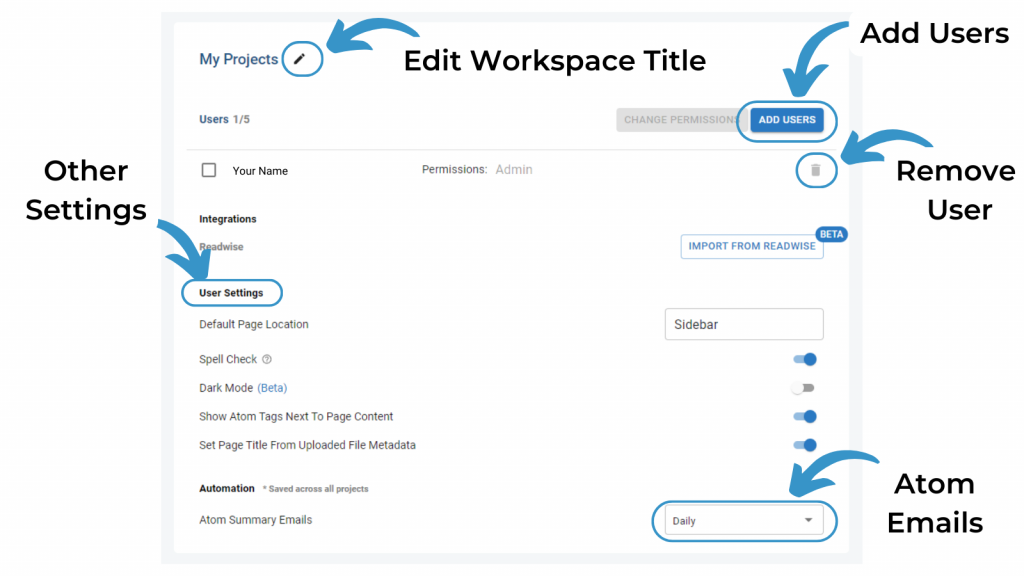
Under settings you can change the title of your Workspace using the edit button.
You can add (and remove) further users to collaborate with them in your workspace
There are also some further settings you can toggle on/off such as spell check, dark mode, Displaying Atom Tags next to Page Content, Setting Page Title from Metadata.
Here you can also opt in to weekly or daily Atom Summary emails.
There’s also a Readwise integration to do a one-time import of your highlights saved in Readwise.
Archive #
Archive stores Pages deleted from your Workspace. Form here you can restore those Pages or deep-delete them. Any Pages deleted from your Archive, are permanently deleted and can’t be recovered.
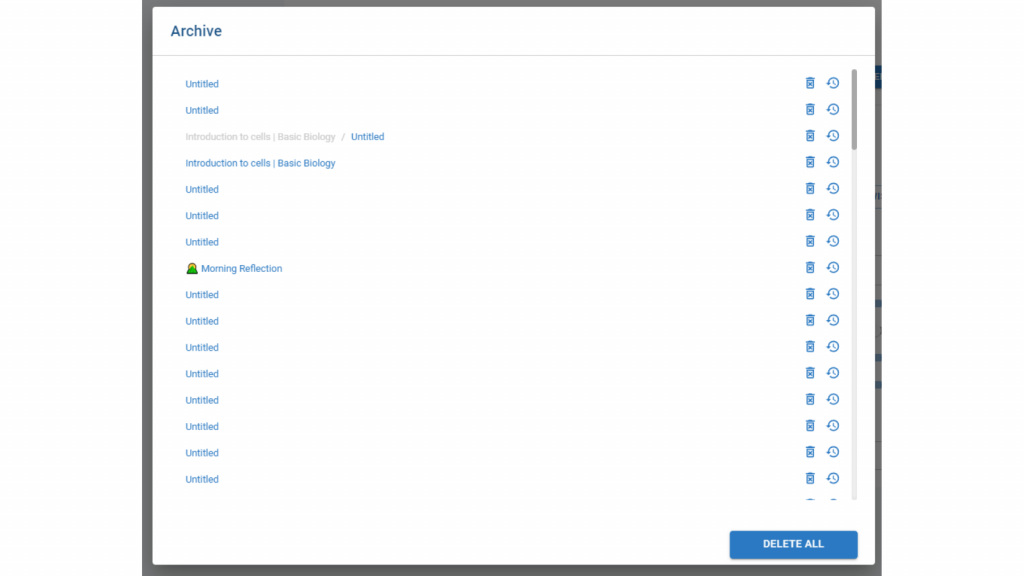
Use the Bin icon to permanently Delete and the clock circular arrow to Restore Pages in your Archive.

4 Useful Links #
Across the top right of your screen are some useful links.
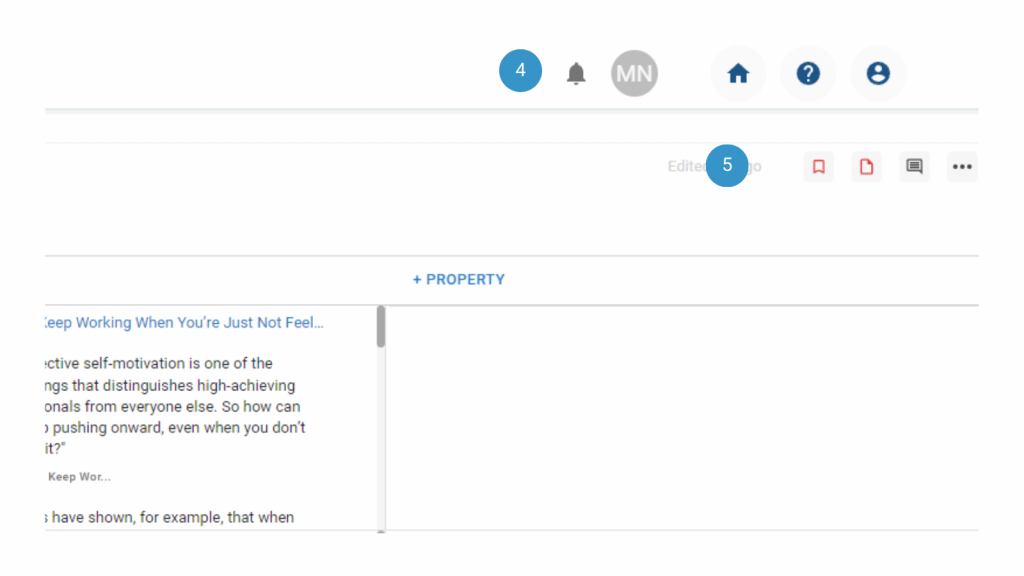
You can see icons for the users in your workspace, a home button (house), help button (?) and your account information (portrait).

The Bell will display any notifications.
The Home button will take you to your Workspaces dashboard (if you have >1 workspace).
The Question Mark will take you to the Docs area.
And the person Icon will give you some account options like change password/email and sign out.
5 Page Menus #
At the top right of a Page are some Menu Buttons.

Properties Menu If you are in a Page that is a Row of a Table, then there will be a Properties button (circled i) which will display the Properties of the Table that your current Page sits in, down the right side of your screen.

Atoms Menu will expand the menu down the right side of your screen and display all the Atoms for the current Page (Flag icon).
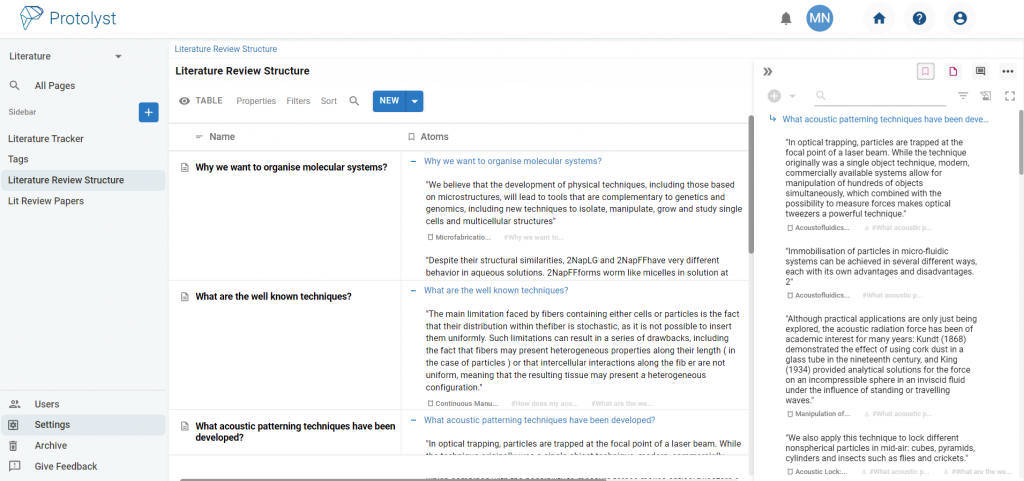
Pages Menu will expand the right hand menu and display information about Sub Pages and Linked Pages (Doc icon)
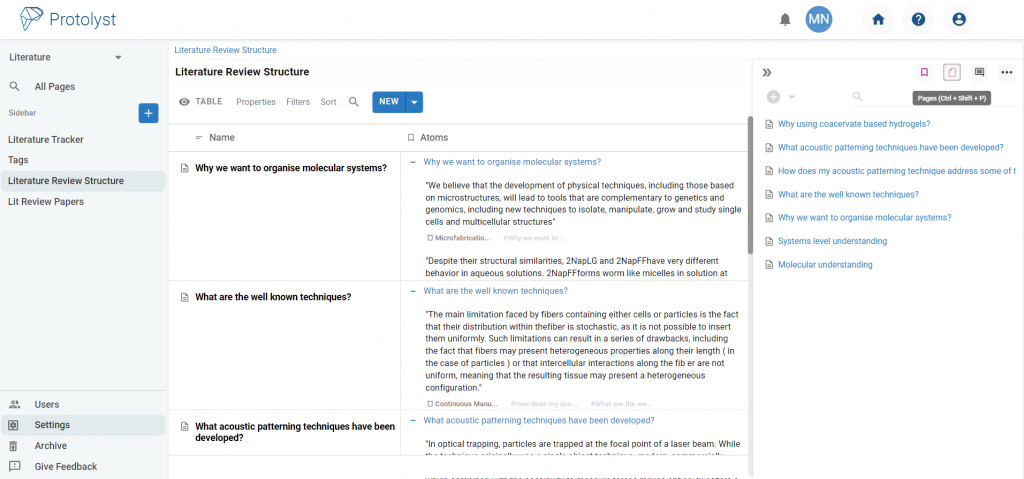
Comments will display comments added to a Page (Text in a Bubble Icon)
Page Options Menu (3 Dots Icon) will display options for your current page including duplicate, open in splitscreen, delete, download and some other page specific options
Navigate between your Workspaces #
If you have multiple workspaces you can move between them in your projects dashboard when you login:
- Locate the workspace you wish to enter in the list under Your Workspaces
- Click the Name to launch the workspace
From within a Workspace:
- In the top left of the workspace click on your workspace name
- Use the drop down menu to select the project you want to navigate to


