Here we’ll go through different ways you can organise your To-Dos. From quick bullet lists to systematised Tables collecting your to-dos from across your workspace
Watch our video or take a look at the written steps below
Simple To Do Check List #
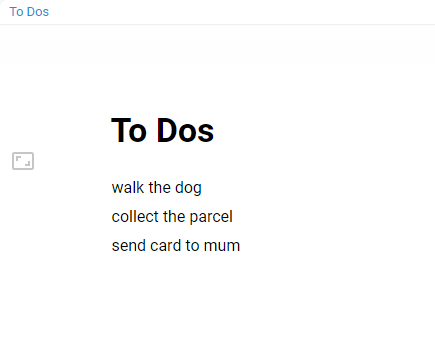
The easiest way to create a To-Do List on Protolyst is to create a checklist in a Text Editor Page.
1 Add a New Page to your Workspace, select Text Editor and then create a list in the page
2 Highlight your bullet list and use the formatting bar to select the Checkmark bullets.
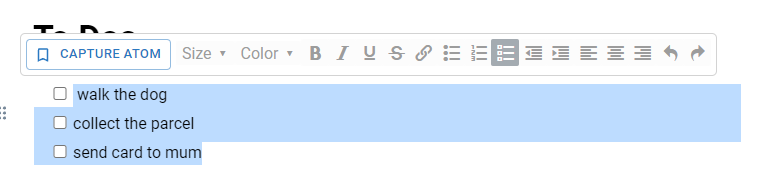
Now you’ll be able to cross To Dos off as you complete them.
To Do List in Tables #
You can make use of a Table and additional properties to further organise and categorise your To-Dos.
1 Add a New Page and select Table. Add your To Dos as separate Rows into the Table
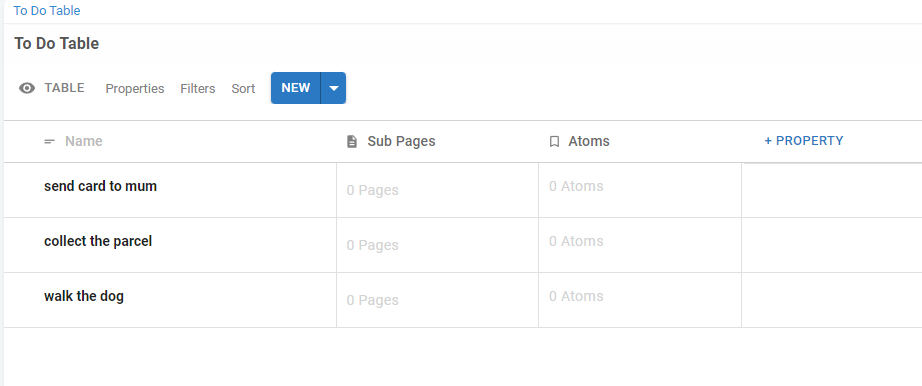
2 Remove the pre-added Atoms and Sub-Page Properties, and add a Checkbox property to mark tasks as complete. You can also choose from available property types to add further detail and information to each of your Tasks
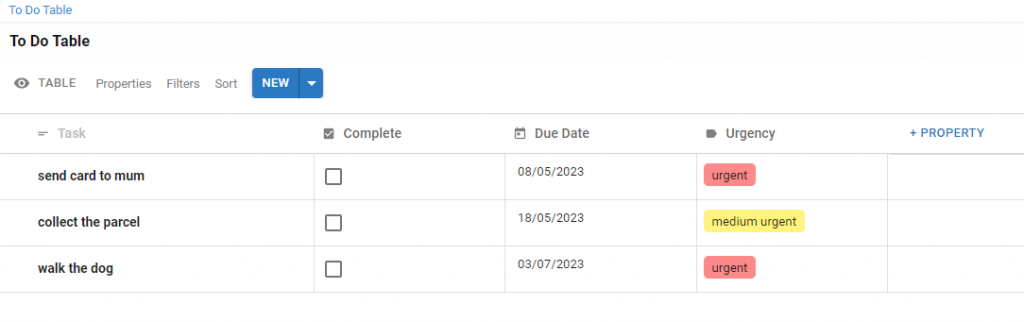
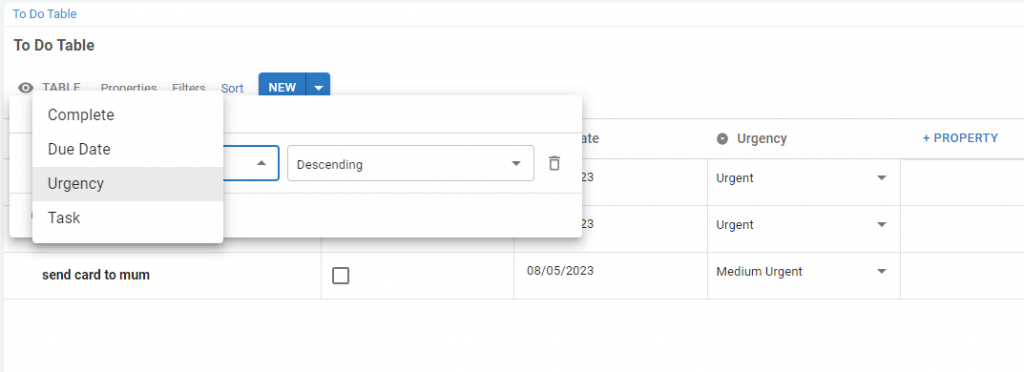
3 Use Table Sorts to organise your To Dos in order. You could sort your tasks by Due Date, Task Urgency etc.
Master To Do List #
If you are going to be adding To-Dos from multiple places within your workspace then a Master List can help you make sure you don’t lose any along the way.
Extending from the To Do Table described above, you can use Table Embeds in Pages across your workspace.
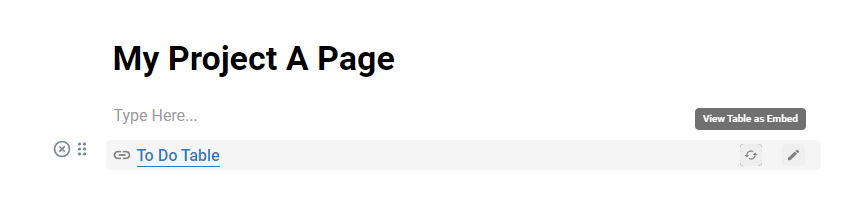
1 Add a new Section to a Page. Choose Linked Page and select your To Do Table

2 Hover and select ‘View as Embed’ to expand the Table in the Page
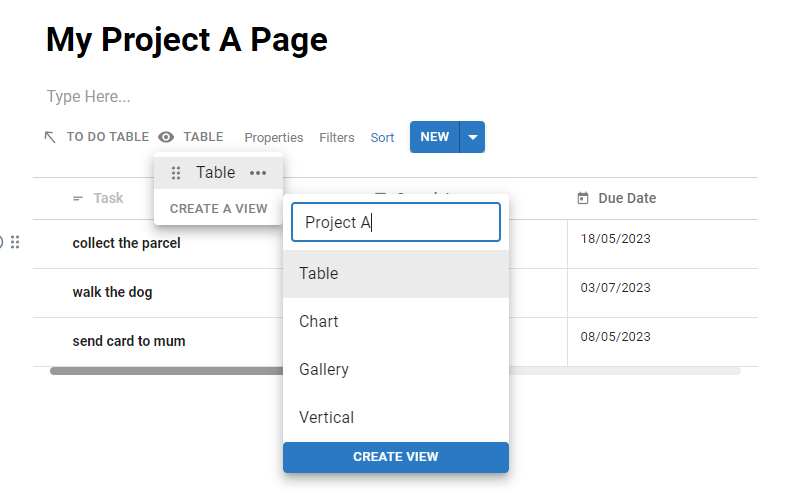
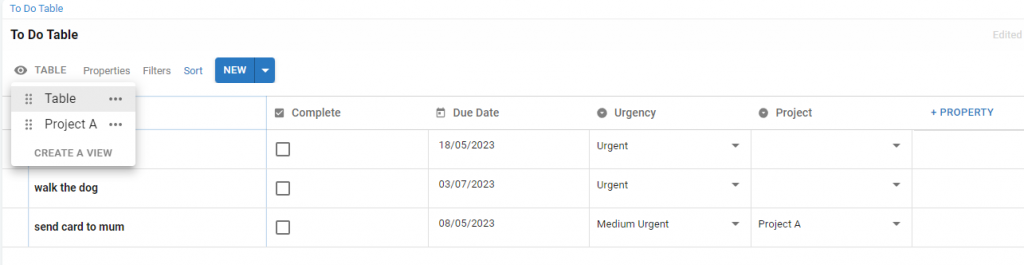
3 Create a new Table View that will correspond to this Page / Project within your workspace
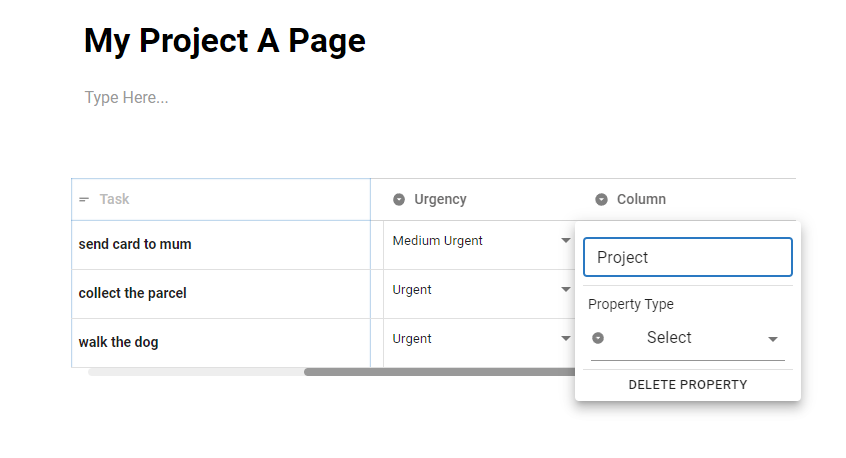
4 Use a Select Property to assign this Task to a particular project – Project A
5 Add a Filter to display Tasks assigned to Project A
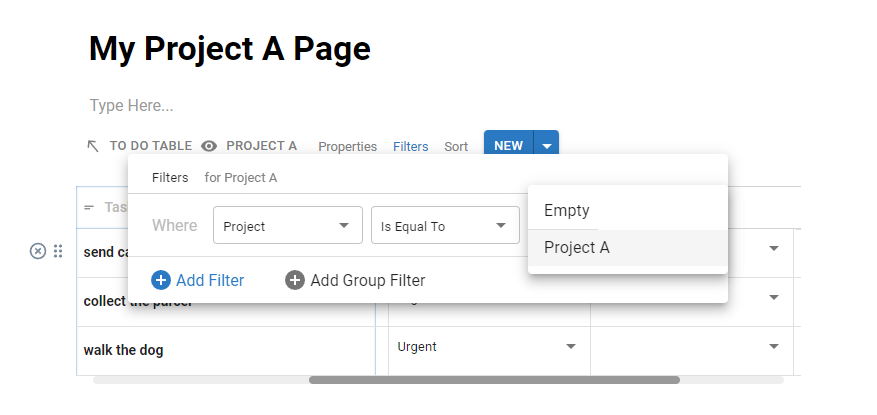
When you add new rows, this Filter will automatically assign Project A for the Project Field in your new Row. You could hide this property and any others to view just what you need in this Table Embed
6 Opening up your original To Do Table you can show all properties and remove Filters to view your Master To Do List
Repeat this across your workspace everywhere you want to add To Dos so that all of them are added into the one Master To Do table.


