The PARA Method, created by Tiago Forte of Forte Labs, is a simple way to organise everything you know around what you are working on. Here is how to set it up in Protolyst.
What is PARA? #
PARA stands for the four places your information can live:
- Projects: short-term efforts with a goal and a deadline, such as Launch the onboarding guide.
- Areas: ongoing responsibilities with no end date, such as Customer support or Health.
- Resources: topics and material you are interested in, such as articles, books and notes.
- Archives: anything from the other three that is no longer active.
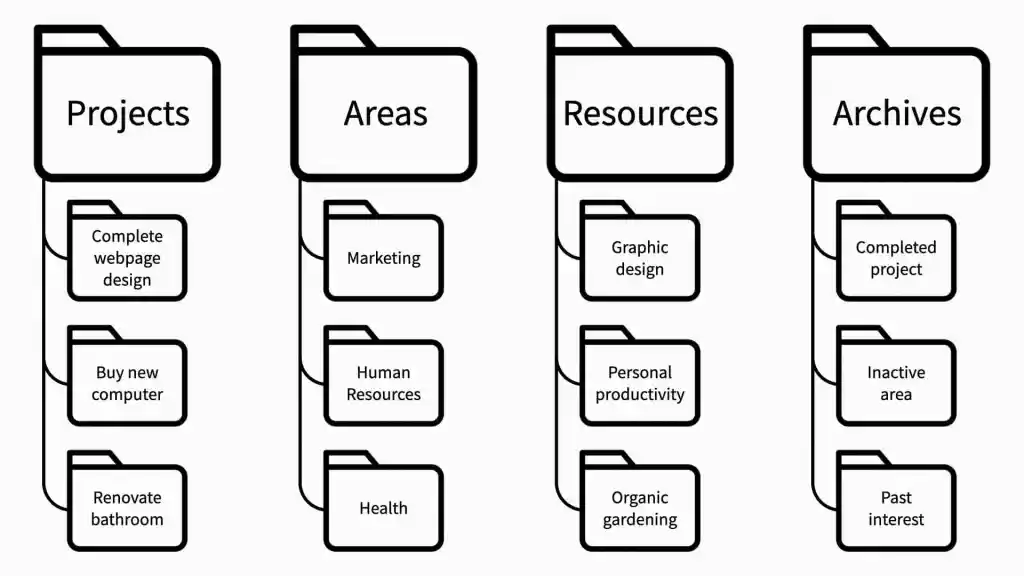
In practice these four overlap: projects grow out of areas, and resources you find are useful for several projects. Protolyst lets you link them together so nothing gets stuck in one folder.
Step 1: Create four tables #
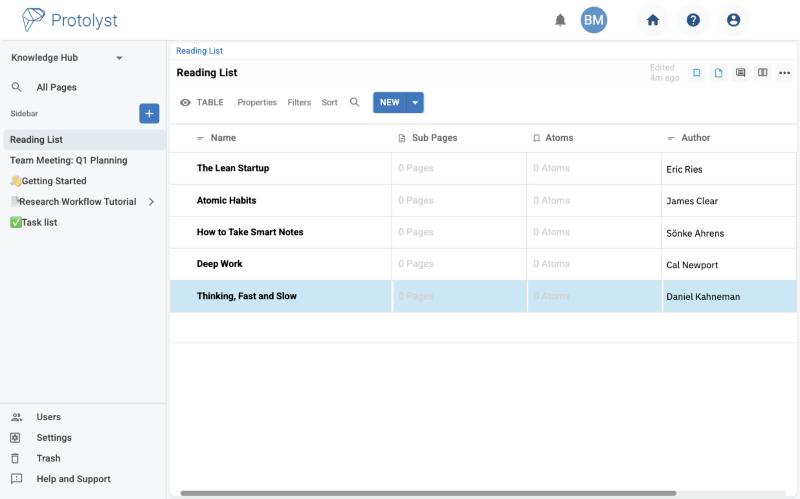
Click the + button in the sidebar four times and choose Table for each page. Name them Projects, Areas, Resources and Archive. Each row you add is a page, so a project can hold its own notes, files and tasks.
Step 2: Add the details you want to track #
Use + Property to add columns. Good starting points:
- In Projects: a Select property called Status (Not started, In progress, Done) and a Date for the deadline.
- In Resources: a Multi Select property for topics, so you can filter by subject.
Tip: Switch the Projects table to a Kanban view to see your projects as cards grouped by Status.
Step 3: Link projects, areas and resources #
Add a Linked Table property to Projects and point it at Areas. Each project can then show the area it belongs to. Do the same between Resources and Projects to see which material supports which project.
Step 4: Archive what is finished #
When a project is done, right-click it and choose Move, then pick your Archive table in Select New Location. It stays searchable but out of your way.
Start small: add the projects you are working on this month, then grow your Areas and Resources as you go.


